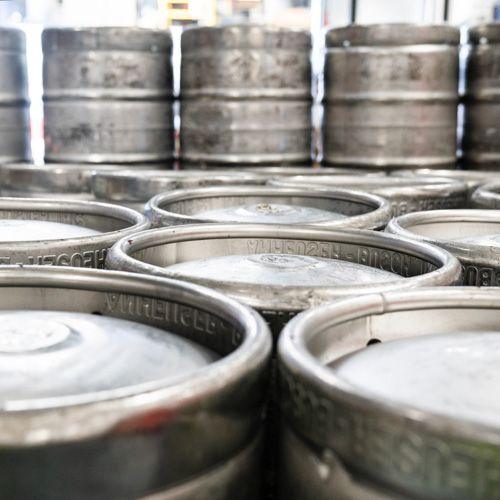
There is pretty much no doubt whatsoever that moving up to kegging your homebrew is a fantastic step to take. While bottling home brew is both rewarding and can be beneficial for some styles, most would agree that kegging provides greater flexibility, ease of use and far less hassle in terms of cleaning and transferring. Transferring your finished beer into a keg we will cover in another post.
Right now, let’s talk about maintenance.
It takes very little effort to keep your kegs in great condition, and with a little bit of foresight you should find yourself good to go in all situations.
Step 1 – Preparing a brand new keg
A brand new keg fresh from the factory will need very little effort to get going, especially if it is a high quality keg such as our 19L corny kegs that come with a 10 year warranty.
It is always a good idea to clean your keg before use. The fastest and easiest way to do this is to simply fill the keg with a warm solution of StellarClean PBW mixed to the correct dilution. PBW works faster at warmer temperatures, so you can go as hot as you like. Turning the keg upside for a small amount of time to ensure the posts and dip tubes are cleaned is a great idea as well.
You can use a microfibre cloth to wipe down the exterior with PBW as well.
After cleaning, PBW must be rinsed, ideally with water of the same temperature as when cleaning. Pay most attention to the posts, as these are the only exterior parts that will come in contact with your beer.
Once this is done, the keg is ready for sanitising.
The best and easiest way to sanitise your keg is with a no rinse sanitiser such as StellarSan. For this to be effective, it needs to be in contact with all surfaces for a minimum of 120 seconds at the recommended dilution. You can make up a litre or two of sanitiser and simply shake it inside the keg. A better solution is to fill the keg with 19L of StellarSan at the correct dilution. StellarSan remains effective provided that the PH remains below 2.2 - it will generally last for quite a long time.
The reason for storing StellarSan in the keg will be covered in another post talking about transferring your finished beer from the fermenter to the keg. Once sanitised, adding a small amount of pressure to the keg (~10psi) will ensure it stays sealed until needed.
The last step is to apply a small dab of food grade lube to the post O-rings. Thios is a great practice that will help ensure against leaks and make attaching and removing disconnects easier.
Step 2 – Cleaning after use
This is broadly similar to the initial preparation work for a new keg.
It is a really good habit to get into of cleaning your kegs as soon as they kick. Another good habit is to take this time to clean your beer lines. We often get asked how often beer lines should be cleaned, and while the actual answer is, “It depends”, if you clean your lines after every keg then you will pretty much always be good to go.
So, when your keg of delicious beer is gone, empty out and hose out any trub and residue from the bottom of the keg. A quick blast from the garden hose will normally do the job. If this is not an option, you might want to consider grabbing a Bucket Blaster which will make super quick work of most of your cleaning tasks, and is fantastic if you don’t have access to a hose or are a bit limited on space – for instance, if you have to brew in a small apartment.
If you use a Bucket Blaster, then once that is finished you are good to go. Otherwise, once the trub is rinsed out, follow the same cleaning procedure as for a new keg. Remember to sanitise and to add a dab of keg lube to the post O-rings.
Once the keg is clean, it’s time to tackle the beer lines.
A really convenient and easy way to clean the lines is to use PET bottles – these ones are ideal – with a couple of carbonation caps and a carbonation tee piece. You can also add a dip tube if desired.
Simply fill one bottle with PBW and one with StellarSan. Hook your CO2 up to the bottle to pressurise it, then connect the beer line you wish to clean. Remember to put a bucket or other vessel under the tap, then open the tap and let the CO2 push the PBW through the line. Let that soak for a few minutes, then follow the same procedure to flush with StellarSan. This entire process only takes a couple of minutes and will ensure your lines are always in great condition, allowing for great tasting beer at all times.
If you don’t wish to unhook your CO2 line you can also use this nifty little kit that will go straight onto a PET bottle.
Step 3 - Ongoing maintenance
Provided you look after your kegs, they will look after you. Our kegs have a 10 year guarantee, and we would expect them to last far longer than that.
There are parts that it pays to inspect periodically however. Notably the O-rings on the posts and the dip tubes. The post O-rings especially will wear over time, as they are used most frequently. Keeping a pack of post O-rings to hand is quite inexpensive and means you will be able to solve potential issues quickly and easily should you discover a leak due to a damaged post O-ring.
It is worthwhile periodically removing the posts with a 17 or 18mm (depending on the keg) spanner to visually inspect. If there is any build up they can be soaked in warm PBW to remove it.
You may also wish to use a dip tube brush to periodically give the liquid dip tube a bit of extra love, although thorough cleaning with PBW should do the job.
Lastly, one of these kits is pretty handy to keep on hand as you expand your keg collection - always good to be prepared when your delicious home brew is on the line.
If you do run into any issues, you will probably find what you need right here. If not, as ever, please reach out to our super helpful customer service team, or contact us at beer@kegland.com.au


